Saturday, April 20, 2013

Old Mirror into a Frame

I found this mirror on Craigslist. She was asking $200, but when I offered $100 she took it, it never hurts to ask! I had been scouring thrift stores and Craigslist for a very large mirror with a lot of detail. It was not easy to find, and even harder to find at a reasonable price. I knew when I saw this one I had to have it, even though it was in Longmont!  Although I personally think it looks a little ugly as is, I saw the potential in it.  She told me it was the first thing she bought for her house after she got married 30 years ago, and she loved it so much. I didn't tell her that after I was done with it she'd never recognize it!

I had already taken the mirror out of the frame when I took this picture, but you get the idea.

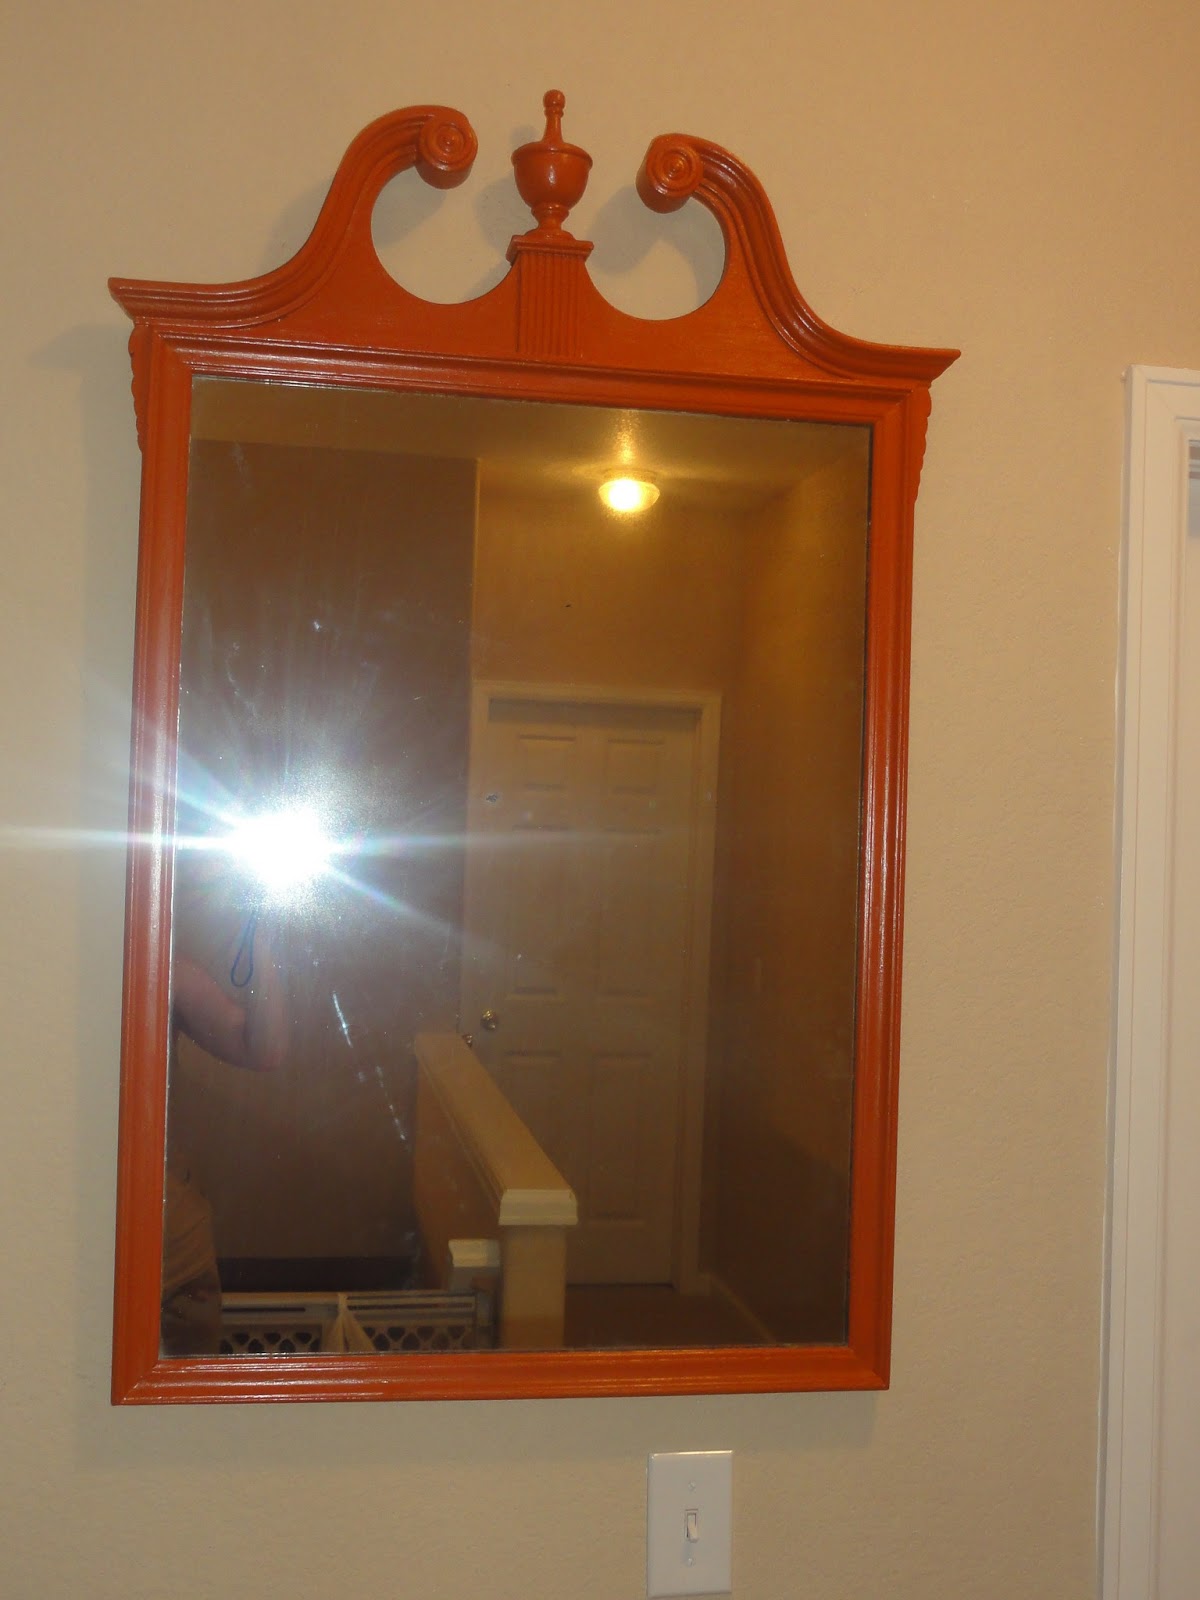
I decided to spray paint this frame, I knew I'd never get into all the nooks and crannies with a brush. Although spray paint is easy, it is very thin and this took quite a few coats. Since it sticks up out of the wall quite a bit, I also had to spray the back.  

I decided not to use this as a mirror, but as a large multi-picture frame. After I sprayed it white and top coated it, I used jewelry wire to string three wires across the back of the frame. I also bought some of the tiny clothes hangers in the craft section to hang the pictures, and I spray painted those white to match. We hung the frame in our living room, I love that I can display multiple pictures and change them out easily and frequently.


Antique Mirror

I found this mirror at Goodwill.  It is a true antique, and they were asking $40. Luckily it was half price day so I got it for $20.  I debated on whether or not to get it because they corner of it had been hit and it had a big gash in it. I decided to go for it and try to find something to fix it because I loved the shape of it.


I found a wood putty product, and I put it on the corner of the mirror. After I let it dry for a couple of days, I sanded it down. I have to say, you would never know it was there if you didn't know, and even if you do you still have to look pretty hard. I was very impressed with the wood product and I'm sure it will come in handy in the future.  I decided to paint this mirror orange as it was going to be my focal point in my new living room. I ended up finding a painting to use instead, so I ended up putting this in the hallway instead. I love the design of this mirror, and the flaws it has from being so old.  The orange really made the design of the mirror pop!


China Cabinet

I picked up a china cabinet at a store that clears out homes after an estate sale or when someone passes away.  This cabinet cost me $22. Yes, $22!  It is solid wood, made in Sweden, in perfect condition, and built sometime before the 50's (how I know that is coming up later).

I swear, I am so bad about taking before pictures. I get so excited to get started on project that I always skip that step. But, this cabinet was a walnut color before I started with brass hardware.  I decided to paint it white to go in our living room and I antiqued it with a brown glaze.  I decided to buy new hardware, but couldn't find any that were the right size. After doing some research, I found out that they stopped making that size hardware in the 50's (hence the age of the piece). So, since I was out of options, I decided to paint the existing hardware. I'm actually really glad it worked out that way, I painted them with Rustoleum's metal spray in an antique copper color. I love them! They look amazing, and it only cost a few dollars.

I love that this cabinet has history. I don't know what it is but I like to think it graced a couple's home for many happy years together, and I hope we get the same out of it.


Bathroom Cabinet Redo

We just moved in to the new house, and I decided to give the bathroom a little facelift. I tried the Rustoleum furniture refinishing kit in the Chocolate color.  I liked it, but honestly I think it was just a stripper, paint, glaze, and polyacrylic put into a box with a higher price tag. The kit didn't really offer any benefits, and it was more expensive to do it that way.  But, I like how the cabinets came out so it was a good experience.

Before, oak cabinets


After, chocolate cabinets


I love the results, it was a quick, easy, and inexpensive way to give the bathroom an update!

Wednesday, April 10, 2013

New Coffee and End Table

For our new living room, I could picture the coffee table I wanted.  The problem was, I couldn't find it anywhere. So, after a while I gave up on trying to find the imaginary coffee table I had designed in my head, and I started scouring Craigslist for a table that had the right structure so I could refinish it. I finally found these, I can't remember how much we paid but I want to say it was around $30.  I hated the green legs and the wood stain, but when I saw them I knew I could make them into my dream tables!

I knew I wanted a very dark wood top with white legs, but I was nervous because I had never used stain before. Since I was staining instead of painting, I had to sand the tops. This was a LOT of work. I know they make liquid strippers, so I will probably try those next time around. I ended up really liking the stain, I'll definitely use it again. It is more more treacherous than paint though, so be careful washing this out in your sink!
Before:

 During sanding:

I absolutely love how these came out. The dark wood looks flawless, the white legs give the perfect contrast, and I added a little "flare." I found a cute turquoise and orange knob at World Market that I put on the side table, it matches perfectly! Not bad for a grand total of about $35!

Final products in the living room:


Monday, April 30, 2012

Antique Armoire

I found this piece at a consignment shop, and after negotiations I got it for $22.  It was not a bad looking piece, it was in great condition and is very solid wood.  I decided to paint this piece white and antique it with black, and while painting it, I decided to do a gray accent on the doors and drawers.  I liked the look of the old hardware, so I kept the originals.  I love the way this piece came out, it still has the antique look but has a more modern feel to it.


Bi-Level Table

I found this table on Craigslist for $10.  I loved the unique design of the table, I had never seen a bi-level table. It was a dark brown laminate with a few dings.  Once I saw it I instantly had an idea for how I wanted to paint it. I started by sanding it to remove the smooth coating and even out the dings.  I decided to do a tape pattern on the large part, and a coordinating solid color on the smaller one.

I was going to list this table for $60, but once it was done I just didn't want to get rid of it, I really loved how it came out!  This was the color scheme of our old living room set, and I still have some accessories in those colors. So, I decided to keep this table and use it in our living room when we move.